
Cropping and background removal are often grouped together because both can make an image look cleaner.
But they solve very different problems.
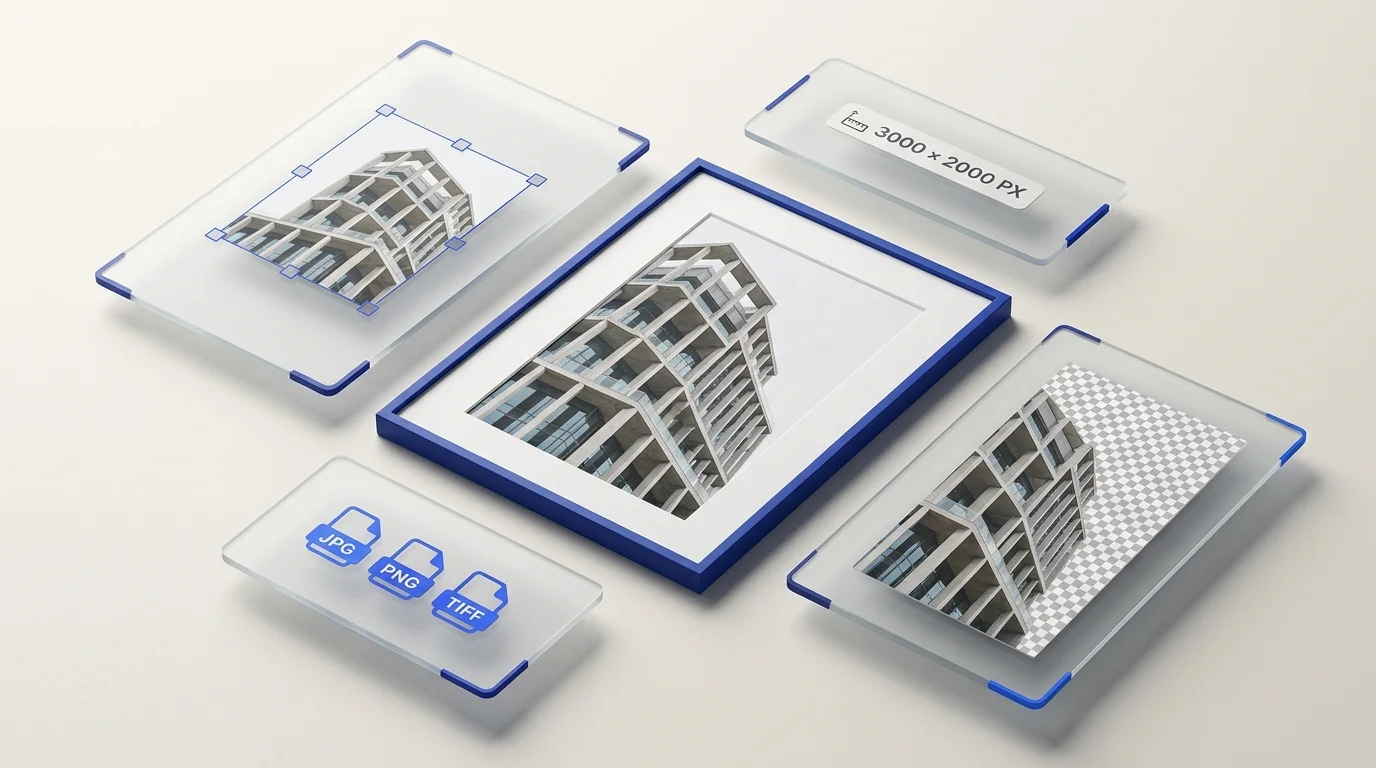
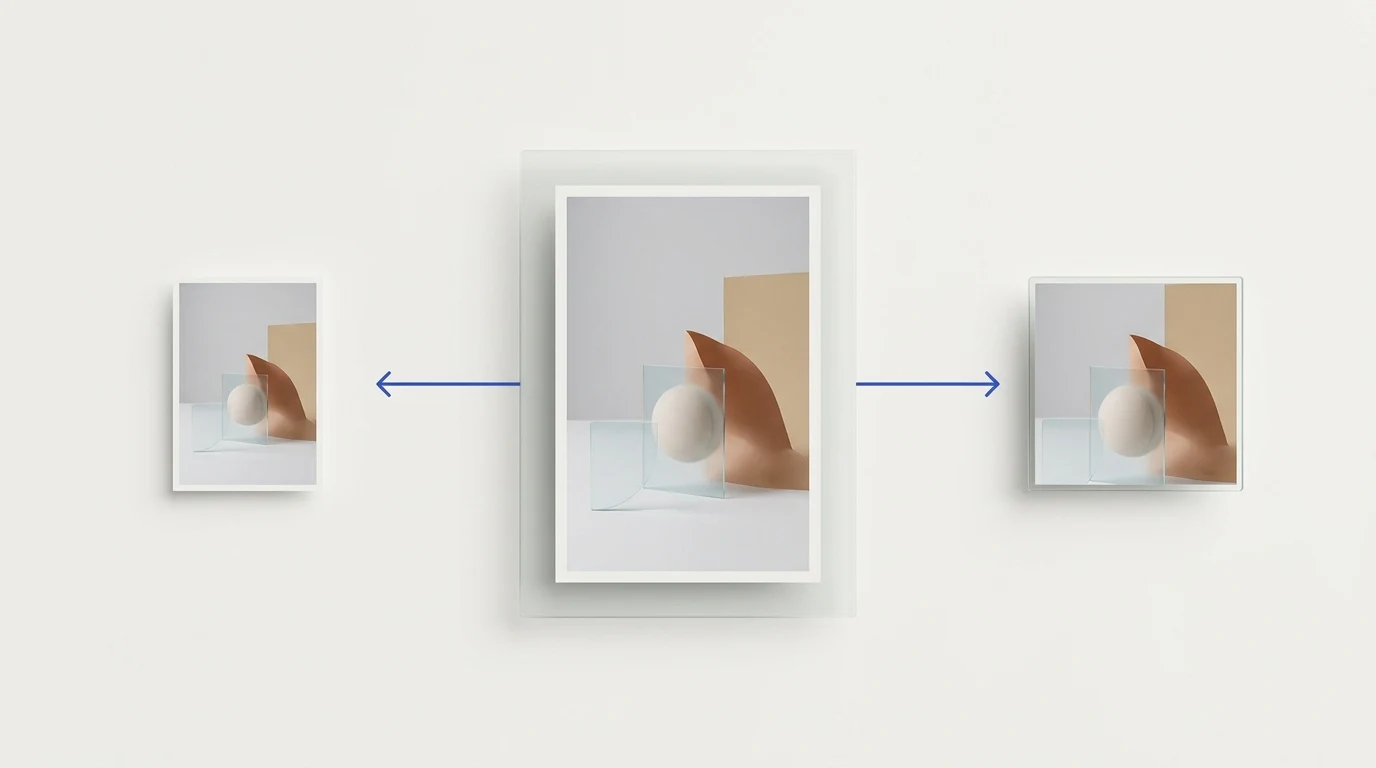
Cropping changes the frame. Background removal changes what surrounds the subject. Resizing changes the output dimensions.
Understanding those differences makes image preparation much easier, especially when the same source images need to be reused across multiple destinations.
What is the difference between cropping and background removal?
Cropping removes areas from the outer edges of an image.
You might crop an image to remove unnecessary space, improve composition, change the aspect ratio, position the subject more effectively, or fit a particular destination frame.
Background removal is different.
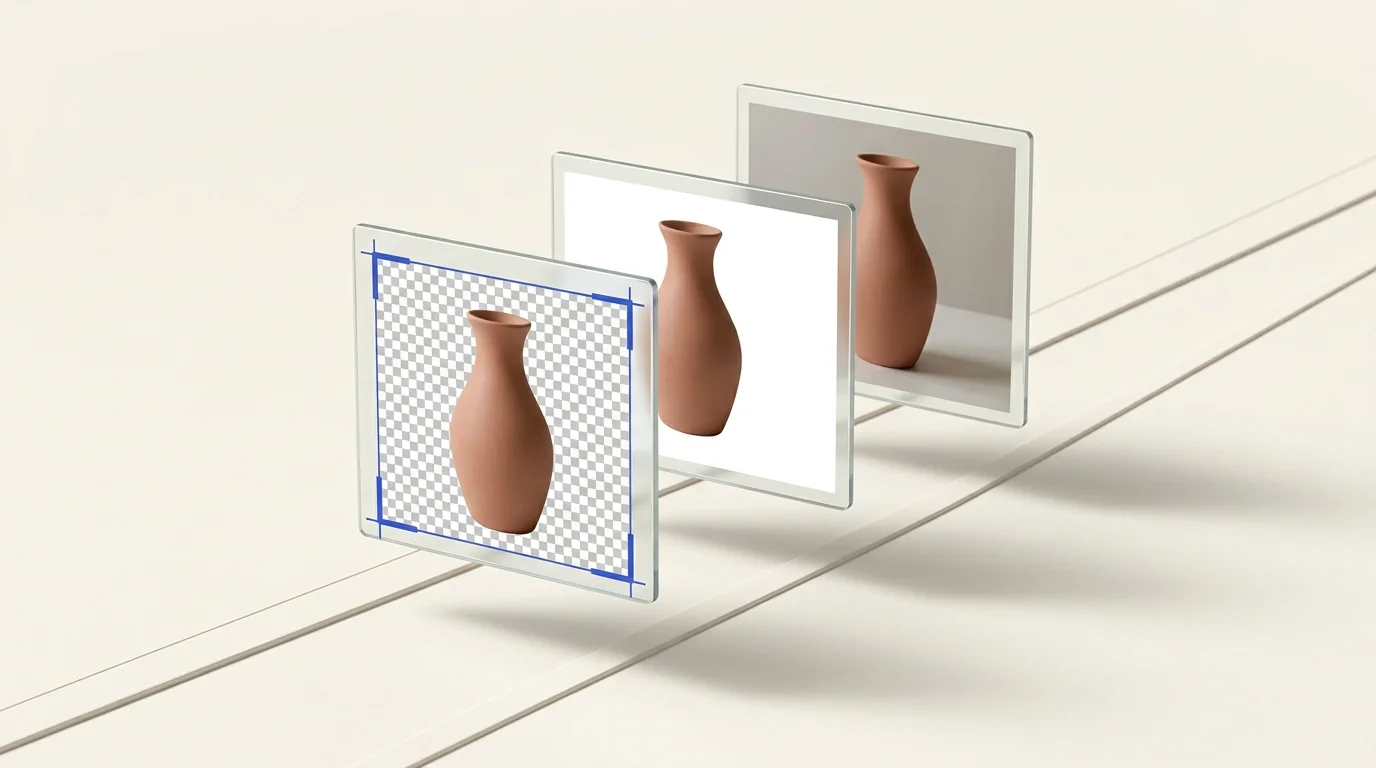
Instead of changing the outer frame, background removal identifies the subject and removes the surrounding background, usually leaving a transparent result.
That makes the subject reusable independently of the original scene.
A third operation, resizing, is different again.
Resizing changes the pixel dimensions of the output.
The simplest way to think about the three operations is:
Crop = change the frame.
Remove background = isolate the subject.
Resize = change the dimensions.
They can be used together, but they should not be treated as interchangeable.
When should you crop an image?
Cropping is useful when the problem is composition.
Imagine a product photo where the product occupies only a small part of the frame.
The background itself may be perfectly acceptable, but there is too much unused space around the product.
A crop can bring the frame closer to the subject.
Cropping is also useful when an image needs to fit a particular aspect ratio.
For example, the same photograph may need different compositions for a square placement, a portrait layout, a landscape banner, or a thumbnail.
In these cases, the question is not whether the background should exist. The question is which part of the original frame should remain visible.
When should you remove the background?
Background removal is useful when the original surroundings should no longer be part of the final asset.
Common examples include product cutouts, catalog images, graphics reused across layouts, subjects placed on a new background, and transparent assets used in marketing materials.
After background removal, the subject can be reused without carrying the original scene with it.
Preparya's Remove Background tool is designed to process multiple images in a batch, making it more practical when the same cleanup operation is needed across many files.
When should you resize?
Resizing comes into play when an image needs specific output dimensions.
The source may already have the correct composition and background, but still be too large, too small, or simply the wrong dimensions for its destination.
A resize operation can prepare the same source for different outputs.
Preparya's Resize tool supports batch processing and platform-oriented presets, allowing multiple images to be prepared using the same target instead of entering dimensions repeatedly.
Cropping and resizing are not the same
This distinction is important.
Suppose you have a landscape photograph and need a square output.
Simply forcing the image into square dimensions can distort the subject if the aspect ratio is changed incorrectly.
Cropping solves that by deciding which part of the original frame should remain.
Resizing then determines the final pixel dimensions of that result.
Another approach is to preserve the original aspect ratio and fit the image within the destination dimensions, depending on the intended layout.
The correct choice depends on what the destination expects.
The main principle is simple:
Do not use resizing to solve a composition problem.
Decide the frame first. Then prepare its output dimensions.
Which operation should come first?
There is no universal sequence for every image, but the order should reflect what you are trying to preserve.
A practical workflow can look like this:
Step 1: Review the source images
Before processing a batch, identify whether the images share the same problem.
Do they all have unwanted backgrounds?
Do they need the same framing?
Do they need the same destination size?
Grouping images with similar requirements makes batch processing more useful.
Step 2: Decide the composition
If the source framing needs to change, make the crop decision before producing final-size outputs.
The final resize should normally be based on the composition you actually intend to publish.
Step 3: Remove backgrounds when required
If the final asset should have a transparent or isolated subject, perform background removal as part of the preparation workflow.
For a group of similar images, processing them together avoids repeating the same operation individually.
Step 4: Resize for the destination
Once the visual content is correct, create the output dimensions required by the destination.
A single source may need more than one output size.
This is especially common when the same images are used across a website, storefront, social media, advertising, or other publishing destinations.
Step 5: Choose the final format
The final format should reflect the destination.
Transparency requirements may affect the format you choose, while web delivery may call for a different output than another publishing system or internal workflow.
Preparya's Format Conversion tool can process multiple images when the final assets need to be delivered in another supported image format.
Step 6: Review the batch
Automation should always be followed by a quick visual review.
For background removal, inspect subject edges, fine details, unwanted remaining areas, and any missing parts of the subject.
For crop and resize decisions, inspect subject position, aspect ratio, important details near the edges, and final dimensions.
Batch processing reduces repetitive work, but individual images can still contain unusual cases.
Why batch preparation matters
The larger the image set, the more important repeatability becomes.
With one image, a manual workflow is easy to remember.
With dozens or hundreds of images, small inconsistencies can start to appear.
One image may be exported at the wrong dimensions.
Another may keep its original background.
Another may use a different format.
A batch-oriented workflow reduces these variations by applying one defined operation to a group of images.
That is useful for ecommerce catalogs, product launches, social campaigns, content libraries, agency deliverables, marketplace listings, and other workflows that involve many related assets.
The benefit is not merely processing files faster.
It is keeping the output consistent.
A practical product-image example
Consider a set of product photographs taken against different backgrounds.
The final images need to appear consistently in a storefront and also be reused in marketing materials.
A practical workflow might be:
Review the source framing.
Correct the composition where cropping is necessary.
Remove the original backgrounds from the relevant images.
Resize the cleaned assets for their intended destinations.
Convert the final outputs when another format is required.
Review the finished batch before publishing.
Each operation has a clear responsibility.
That makes the workflow easier to understand and easier to repeat when the next batch arrives.
Avoid combining unrelated decisions
One common mistake in image preparation is trying to solve every problem with a single operation.
Resizing does not automatically improve composition.
Cropping does not isolate a subject.
Background removal does not determine the correct output dimensions.
Format conversion does not make an incorrectly sized image ready for its destination.
Treating these as separate decisions produces a cleaner workflow.
The operations can still be performed close together, but each should solve the problem it was designed to solve.
Frequently asked questions
Is cropping the same as background removal?
No. Cropping removes areas from the outer frame of an image. Background removal separates the subject from its surrounding background.
Is cropping the same as resizing?
No. Cropping changes which part of the image remains visible. Resizing changes the pixel dimensions of the output.
Should I crop before removing the background?
If the source contains large areas that will never be used, deciding the intended composition early can simplify the workflow. However, the best sequence depends on the source image and how the isolated subject will be reused.
Should I remove the background before resizing?
When the subject needs to be isolated, background removal before creating final destination outputs can provide a reusable clean asset that can then be resized for several placements.
Can I batch remove backgrounds with Preparya?
Yes. Preparya supports background removal for multiple images in a batch.
Can I batch resize images with Preparya?
Yes. Preparya supports batch resizing, including destination-oriented presets and multiple output targets.
Does Preparya crop images?
Preparya's current image preparation tools focus on background removal, resizing, and format conversion. Cropping should be handled separately when the source composition itself needs to change.
A simpler way to think about the workflow
When preparing an image, ask three separate questions.
Is the frame correct?
If not, the image may need cropping.
Should the original background remain?
If not, use background removal.
Are the output dimensions correct for the destination?
If not, resize the image.
Then choose the final format required for delivery.
Breaking image preparation into separate decisions makes the workflow easier to manage and much easier to repeat across an entire batch.