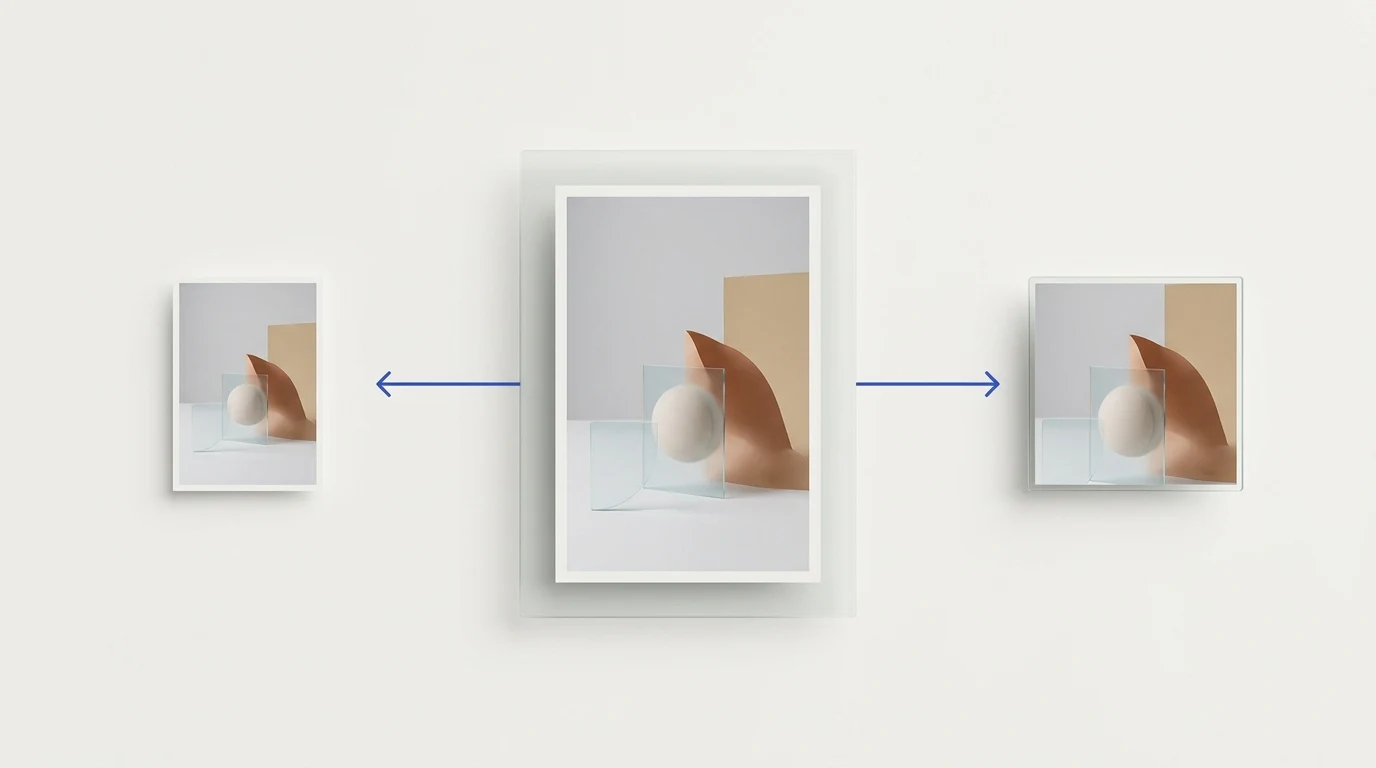
Understanding the Fundamental Difference Between Cropping and Resizing
While the terms cropping and resizing are often used interchangeably in casual conversation, they perform fundamentally different geometric operations on digital images:
- Resizing (Scaling): Changes the total pixel dimensions (width and height) of an image while preserving the entire scene. All visual elements remain in the frame; the software simply recalculates pixel values to make the image physically larger or smaller.
- Cropping: Cuts away outer sections of the image to change the framing, focal point, or aspect ratio. Unwanted pixels outside the crop box are permanently discarded, leaving only the selected portion of the original composition.
The Four Aspect Ratio Transformations
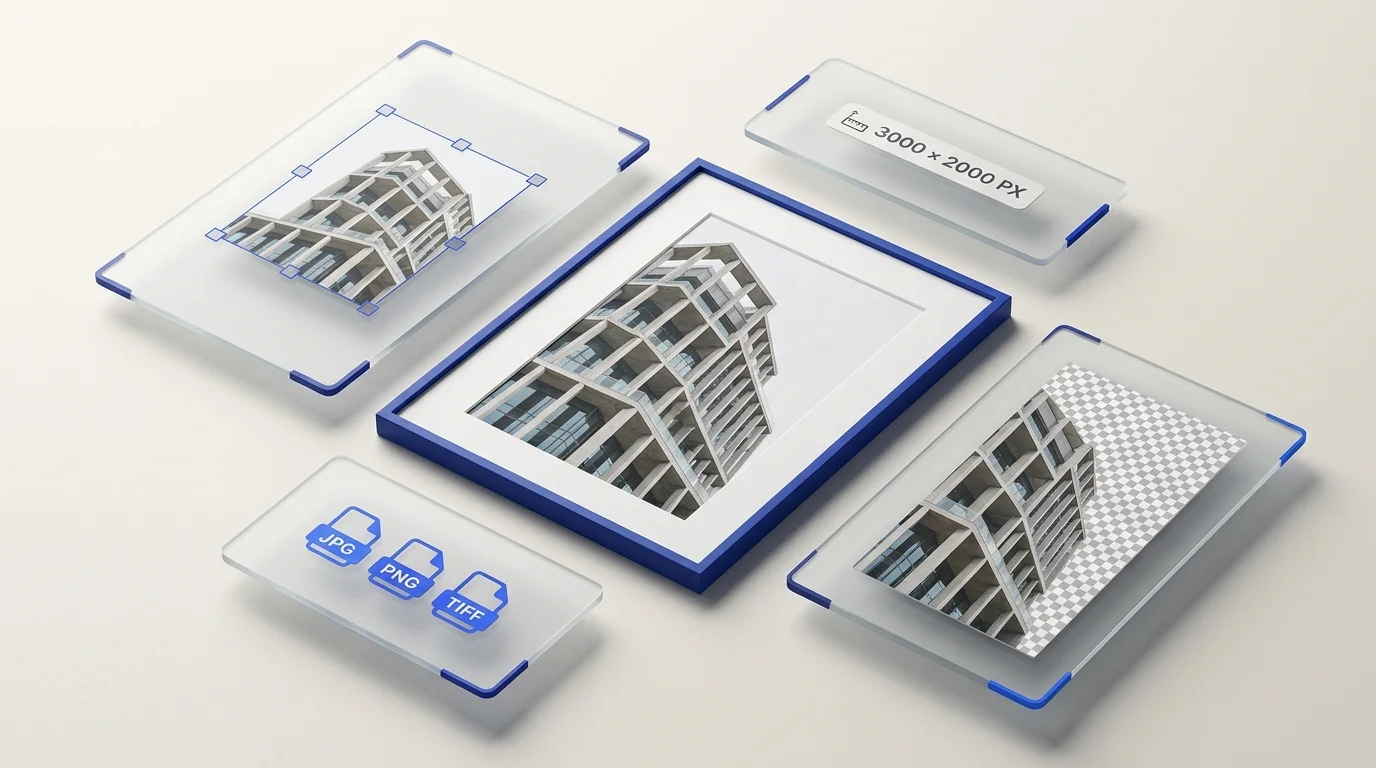
When an image must fit into a container with a different aspect ratio (such as converting a wide 16:9 camera photo into a 1:1 square for an Instagram post or product card), you have four distinct transformation paths:
1. Proportional Uniform Resize (Constrained Aspect Ratio)
Adjusting width and height simultaneously by the exact same mathematical ratio scales the entire image cleanly. The composition remains identical, with zero distortion and zero content loss.
2. Center Crop (Aspect Ratio Conversion)
To fit a 16:9 photo into a 1:1 square, cropping removes pixels from the left and right edges while keeping the central subject intact. This is the preferred method when framing a subject tightly for social feeds or avatar thumbnails.
3. Canvas Extension (Letterboxing / Pillarboxing)
If you cannot cut any content from the image, place the photo onto a larger canvas matching the target aspect ratio, filling the extra space with solid white, black, or brand color padding. This is common in marketplace product listings where the full product silhouette must remain visible.
4. Non-Uniform Stretch / Squish (Never Recommended)
Forcing an image into new dimensions without locking the aspect ratio stretches or squishes pixel rows independently. Faces become unnaturally wide or narrow, circles become ovals, and product proportions are warped. Professional workflows avoid non-uniform scaling entirely.
When to Crop vs. When to Resize
Use Cropping When:
- Improving Composition: Applying the rule of thirds, eliminating distracting background objects, or straightening a horizon line.
- Changing Aspect Ratio: Converting horizontal landscape photos into vertical 4:5 social posts or 1:1 product squares. For Instagram-specific framing examples, see our guide on why Instagram crops photos.
- Focusing on Key Subjects: Framing portraits, profile avatars, or product detail closeups tightly.
Use Resizing When:
- Optimizing for Web & Email: Downscaling high-resolution DSLR photos (e.g. 6000×4000px) to web-friendly display sizes (e.g. 1200×800px) to accelerate page loading.
- Meeting Platform Constraints: Complying with maximum pixel dimension or file-size upload limits on CMS platforms.
- Generating Responsive Sets: Producing consistent thumbnail, medium, and high-DPI desktop versions from the same cropped master.
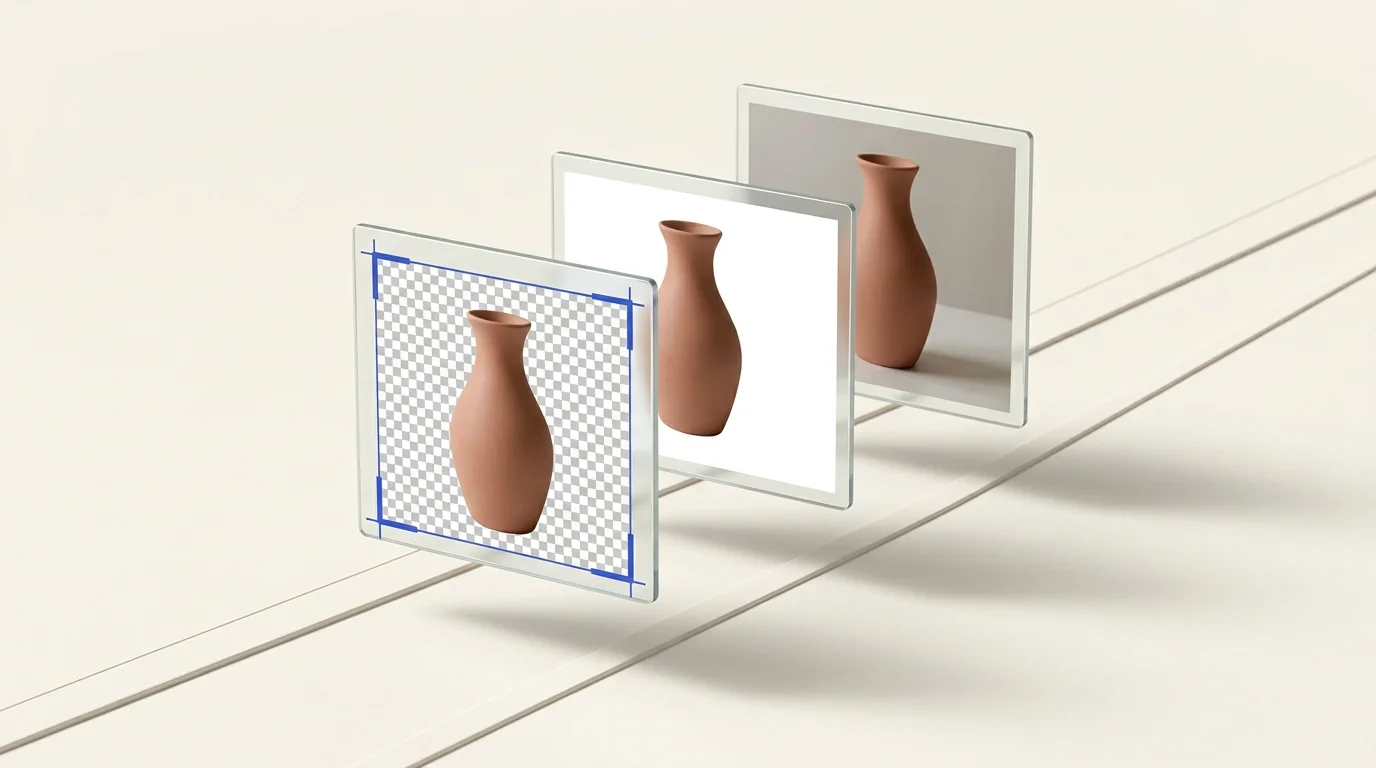
Combining Crop, Resize, and Background Removal in Preparya
These tasks can be part of one preparation workflow, but Preparya does not provide a crop editor. Its Background Removal tool returns transparent PNG results, and its Resize tool creates outputs at the exact dimensions selected. It does not crop or add padding; if the target aspect ratio differs from the source, the image may be stretched. Crop or pad the composition in an editor first when that is required, then use Preparya for the batch resize. For resampling considerations, see how to resize images without losing quality.