
The Fundamentals of Image Resizing and Resolution
Digital raster images (such as JPEG, PNG, WebP, and AVIF) are composed of a fixed grid of color pixels. Unlike vector graphics, which use mathematical formulas to draw curves and lines infinitely, raster images have a finite amount of detail.
When you resize an image, image processing engines must recalculate pixel values through a process known as resampling or interpolation. Understanding the difference between downscaling and upscaling is essential to preserving sharpness:
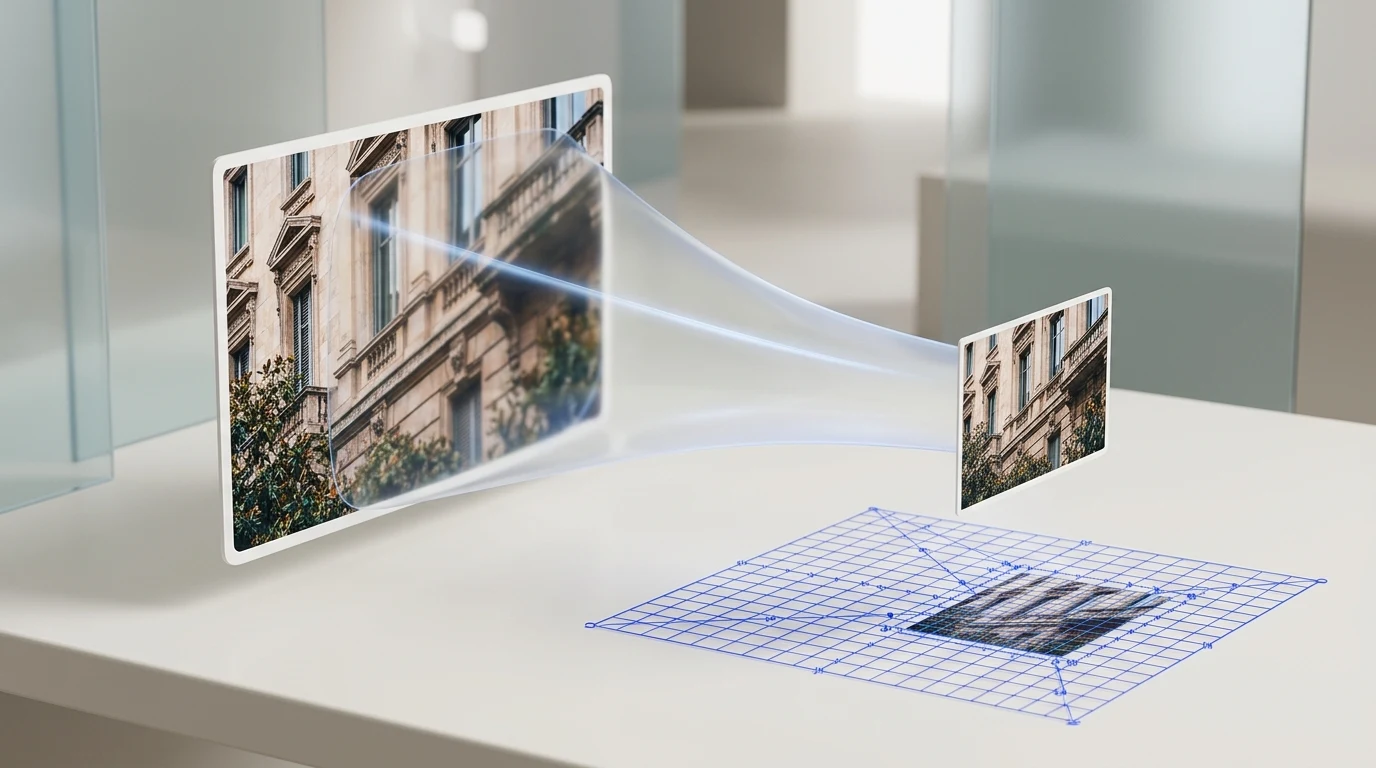
- Downscaling (Reducing Image Dimensions): Reducing an image from 4000×3000 pixels to 1200×900 pixels removes excess pixels while condensing existing detail into a smaller grid. High quality is preserved if the downsampling algorithm averages adjacent pixels properly without introducing aliasing or moiré patterns.
- Upscaling (Increasing Image Dimensions): Increasing an image from 800×600 pixels to 2400×1800 pixels requires the software to invent new pixel values that did not exist in the original file. Standard interpolation cannot add real camera detail that was never recorded, which is why aggressive upscaling leads to softness, blur, or pixelation.
Understanding Resampling Filters: Bicubic vs. Lanczos vs. Bilinear
Not all resizing methods produce the same visual output. When choosing an image preparation tool or configuring batch processing, the underlying resampling filter dictates the final clarity of text, edges, and texture:
1. Lanczos Resampling (Lanczos3)
Lanczos interpolation uses a sinc mathematical filter to evaluate a wider neighborhood of surrounding pixels (typically 3 lobes). It excels at preserving fine details, high-frequency textures, and sharp edges during downscaling. Preparya's current resize service uses ImageMagick's Lanczos filter and applies sharpening after resampling. The visible result still depends on the source image, dimensions and output encoding; inspect the exported image at its intended display size.
2. Bicubic and Bicubic Sharper
Bicubic interpolation examines the 16 nearest neighboring pixels, generating smooth gradients. Bicubic Sharper applies subtle edge-contrast enhancement during reduction, making it a standard choice for downsampling product photographs and portraits where clean edge definition is critical.
3. Bilinear Interpolation
Bilinear calculates the weighted average of the 4 closest pixels. While fast and computationally lightweight, it often results in moderate softness and lacks the crispness of Lanczos or Bicubic algorithms on detailed images.
4. Nearest Neighbor
Nearest Neighbor simply duplicates or drops pixels without blending colors. While essential for pixel art or preserving exact color palettes in retro game sprites, it produces jagged, harsh steps on photographic images and should not be used for general photo resizing.
Crucial Best Practices to Prevent Quality Loss
To ensure your images remain razor-sharp across websites, e-commerce stores, and social platforms, follow these technical best practices:
1. Always Keep and Resize from High-Resolution Masters
Always perform resizing operations on the original, uncompressed source image rather than a previously compressed or downsized copy. Repeatedly resizing and re-saving JPEG files compounds compression artifacts (known as generational loss).
2. Lock the Aspect Ratio
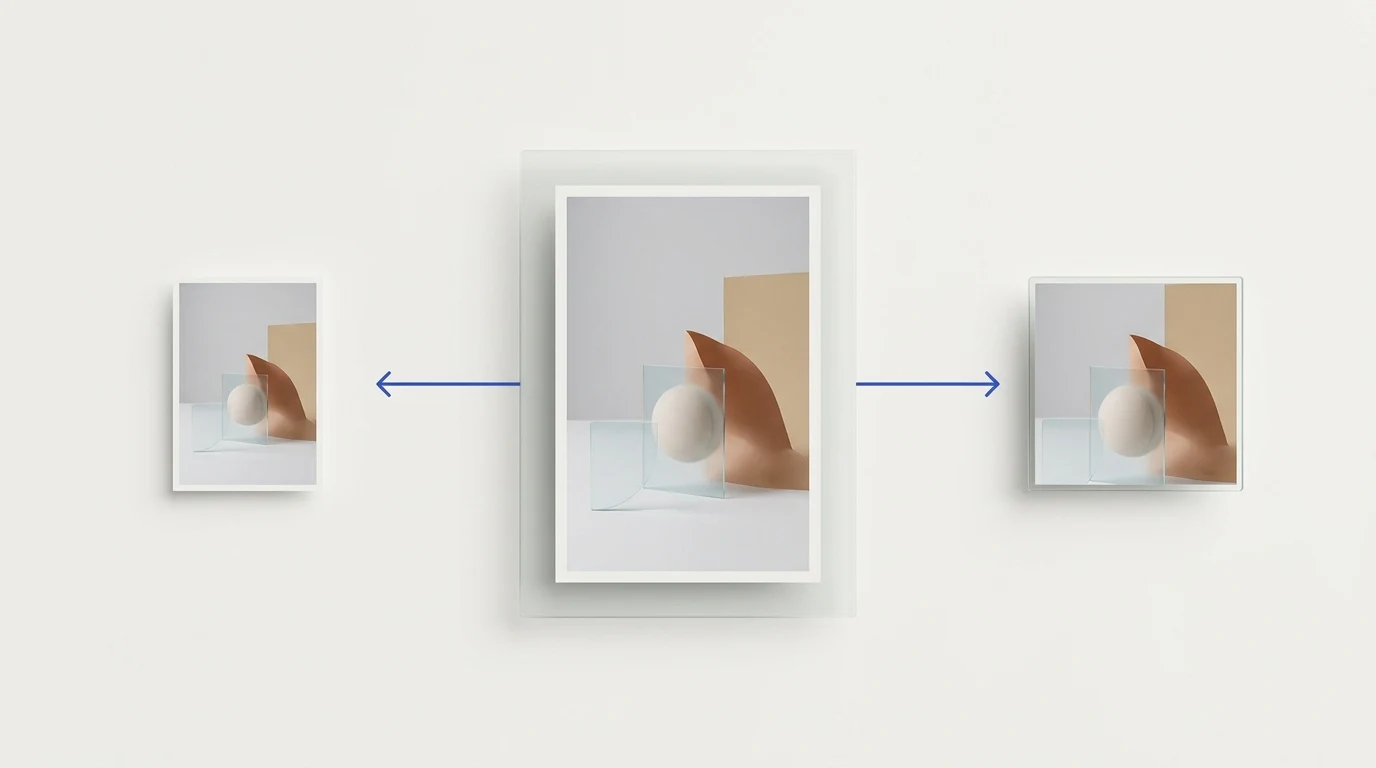
Never stretch or squish an image by altering width and height independently without maintaining the original proportional ratio. If your destination container requires a different ratio (such as turning a 3:2 camera shot into a 1:1 square), crop or add canvas padding rather than forcing non-uniform dimensions. See our crop versus resize guide for the practical distinction.
3. Target Exact Display Dimensions
Serve an image variant close to its rendered display dimensions. For high-DPI screens, a 2× candidate can be appropriate when it matches the rendered slot, but do not serve oversized images universally; use responsive srcset and sizes rules to let the browser choose a suitable candidate. Our guide to resizing images for web performance covers this responsive delivery approach.
4. Choose Modern Compression Formats
After resizing, select an output format that the destination supports. Lossy encoding may change visible detail, and a newer format does not guarantee a smaller file for every source. Compare the actual outputs, especially when transparency is required.
Automating Batch Resize with Preparya
Preparya's batch resize tool applies selected exact dimensions to multiple supported source images. It uses Lanczos resampling, but the result can still look softer or sharper depending on the source and scaling amount. Resize targets do not crop or add padding; if source and target aspect ratios differ, the image may be stretched. Choose matching ratios when you need to preserve proportions, or prepare the crop separately. Use the format converter as a separate step when its currently available output options fit your destination.